LEVI’S · YOUR SHOP
Waist adjustments
Training content
Plan a waist adjustment that respects the recorded fit and garment balance.
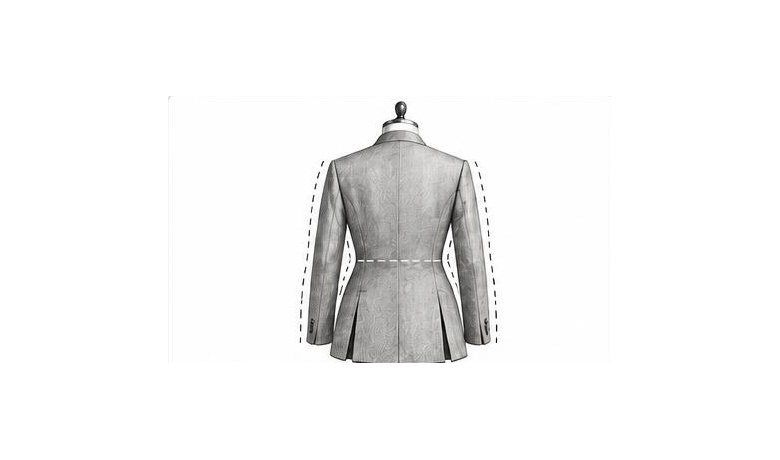
The finished result
The recorded fit is achieved without pulling seams, pockets, vents or closures out of balance.
Applicable brand specifications
Brand specification requiredNo official Levi’s specification has been supplied for this lesson. Confirm exact measurements, tolerances, approved techniques and finishing requirements in the garment’s recorded instructions or with the store before proceeding.
Tools and materials
- Recorded fitting
- Tape measure
- Removable chalk
- Pins or basting thread
Before you begin
- Identify the garment and recorded adjustment points.
- Inspect seams, allowance, waistband or lining and pocket placement.
- Check left/right instructions and existing asymmetry.
Method
Map the adjustment
Locate the recorded change on the garment.
Do not assume how the total adjustment should be distributed between seams.
Check balance
Assess the effect on adjacent seams, closures and pockets.
Confirm the approved approach if the requested fit would distort the garment.
Work and reassess
Follow the confirmed procedure, then compare with the recorded fitting.
Recheck seam alignment and the relaxed hang before final finishing.
Common issues and when to ask for help
- Seam allowance is insufficient.
- Pockets, vents or closures pull after the planned change.
Final quality checklist
Put it into practice
A waist adjustment pulls a pocket out of position. What should you do?